If you’ve ever stood in your bathroom, sponge in hand, wondering where to even begin, you’re not alone. Cleaning a bathroom can feel overwhelming—there’s so much to tackle, from the sink to the shower to that mysterious grout that always seems to collect grime.
I’ve been cleaning homes for years, and I’m here to guide you through the process with practical, easy-to-follow advice.
Let’s dive into the big question: what is the first step in cleaning a bathroom? Spoiler alert: it’s not what you might think! By starting with the right step and following a clear plan, you’ll have a sparkling bathroom in no time.

Image by euro-maids
Why the First Step Matters
When I first started cleaning bathrooms, I made the classic mistake of diving right into scrubbing without a plan. I’d attack the sink, then the toilet, then realize I’d forgotten to clear the clutter or prep my tools. The result? A chaotic, inefficient process that left me exhausted.
I learned that the first step in cleaning a bathroom isn’t about scrubbing or spraying—it’s about preparation. Getting this step right sets the tone for a smooth, stress-free cleaning session. It’s like laying the foundation for a house: without it, everything else feels shaky.
The first step in cleaning a bathroom is to clear the space and gather your supplies. This means removing clutter, organizing your tools, and setting yourself up for success. Trust me, this simple step saves time, reduces frustration, and ensures you don’t miss a single spot.
Clearing the Space: The Real First Step
Picture this: you’re ready to clean, but your bathroom counter is covered with toothpaste tubes, hairbrushes, and half-empty shampoo bottles. The floor has a pile of towels, and there’s a stray sock hiding behind the toilet. Sound familiar? I’ve been there, and I know how tempting it is to just start scrubbing around the mess. But here’s the truth: you can’t clean effectively if your bathroom is cluttered.
Start by clearing out everything that doesn’t belong. Pick up towels, clothes, and random items like kids’ bath toys or that rogue hair tie. Put them in a laundry basket or return them to their proper place outside the bathroom.
Next, take a look at your countertops and shelves. Remove anything that’s not a permanent fixture—think toothbrushes, soaps, or decorative items. I like to keep a small basket handy to toss these items into temporarily. This way, they’re out of the way but easy to put back when you’re done.
Why is this so important? A clear space means you can reach every surface—countertops, sink edges, even those tricky corners behind the toilet—without obstacles. Plus, it gives you a mental boost. There’s something satisfying about starting with a blank slate, and it makes the actual cleaning feel less daunting.
Gathering Your Supplies: Be Ready for Anything
Once your bathroom is clutter-free, it’s time to gather your cleaning supplies. I can’t tell you how many times I’ve started cleaning only to realize I forgot the glass cleaner or ran out of paper towels halfway through.
To avoid this, I always create a cleaning caddy—a portable container with all my essentials. This saves me from running back and forth to the kitchen or supply closet.
Here’s what I keep in my cleaning caddy:
| Item | Purpose |
|---|---|
| All-purpose cleaner | Great for sinks, countertops, and general surfaces. |
| Glass cleaner | Perfect for mirrors and glass shower doors. |
| Toilet bowl cleaner | Specifically formulated for tackling toilet stains and germs. |
| Microfiber cloths | Lint-free and great for wiping down surfaces without streaks. |
| Scrub brush | Ideal for grout, tile, and tough stains. |
| Sponge | Gentle enough for delicate surfaces but tough on grime. |
| Rubber gloves | Protects your hands from harsh chemicals and germs. |
| Spray bottle with water | For diluting cleaners or rinsing surfaces. |
| Paper towels | Handy for quick wipes or drying surfaces. |
| Small trash bags | For collecting debris or used paper towels during cleaning. |
Pro tip: Choose eco-friendly or non-toxic cleaners if you have kids, pets, or sensitive skin. I once used a harsh chemical cleaner that left my hands irritated for days—lesson learned! Now, I stick to gentler options that still get the job done.
Before you start, double-check that your supplies are stocked. There’s nothing worse than realizing you’re out of toilet bowl cleaner mid-scrub. Keep everything in your caddy or a nearby spot so you can grab what you need without breaking your flow.
Why Preparation Beats Diving Right In
You might be wondering, “Why can’t I just start scrubbing the sink or toilet?” I get it—when you’re motivated to clean, you want to jump in and see results fast. But starting without preparation is like cooking without prepping your ingredients. You’ll end up frustrated, backtracked, or missing key steps.
For example, I once tried cleaning a client’s bathroom without clearing the space first. I ended up knocking over a bottle of shampoo while wiping down the counter, creating a slippery mess that took extra time to clean.
Another time, I forgot to grab my scrub brush and had to stop mid-task to hunt for it. These little hiccups add up, turning a 30-minute job into an hour-long ordeal.
By clearing the space and gathering your supplies first, you create a smooth workflow. You can move from one task to the next—sink to mirror to toilet—without interruptions. It helps you stay focused.
There’s something almost meditative about cleaning when you’re fully prepared. You get into a rhythm, and before you know it, the bathroom is sparkling.
The Cleaning Process: What Comes Next
Now that your bathroom is clear and your supplies are ready, you’re set to start the actual cleaning. While this article focuses on the first step, I want to give you a quick roadmap for what comes next so you feel confident moving forward. Here’s how I tackle a bathroom cleaning session after the prep work is done:
Dust and Wipe Down Surfaces
Start high and work your way down. Dust light fixtures, shelves, and any high surfaces with a microfiber cloth. This prevents dust from falling onto areas you’ve already cleaned. Then, wipe down countertops, faucets, and sink edges with an all-purpose cleaner. I love using a microfค่
iber cloth here because it traps dirt and leaves a streak-free finish.
Clean the Mirror
A sparkling mirror can make the whole bathroom feel cleaner. Spray glass cleaner on a microfiber cloth (not directly on the mirror to avoid streaks) and wipe in circular motions. For stubborn toothpaste splatters, I dampen the cloth with a bit of warm water first—it works like a charm.
Tackle the Toilet
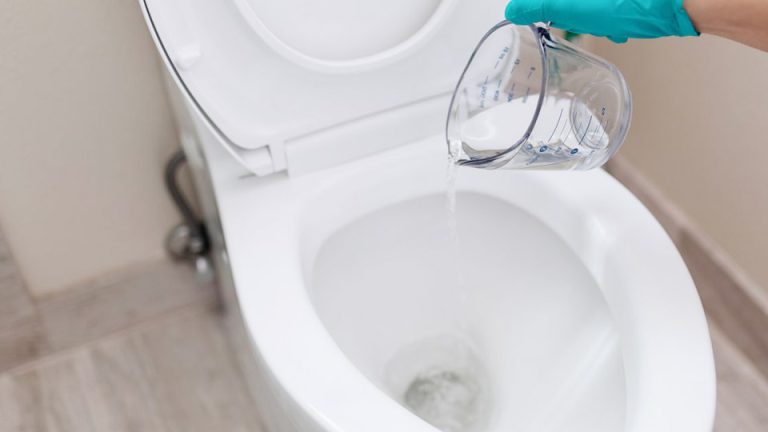
The toilet can be intimidating, but it’s not so bad if you approach it methodically. Squirt toilet bowl cleaner around the rim and let it sit for a few minutes to loosen stains. While it’s working, wipe down the outside of the toilet—tank, handle, and base—with an all-purpose cleaner. Then, scrub the bowl with a toilet brush and flush.
Scrub the Shower and Tub
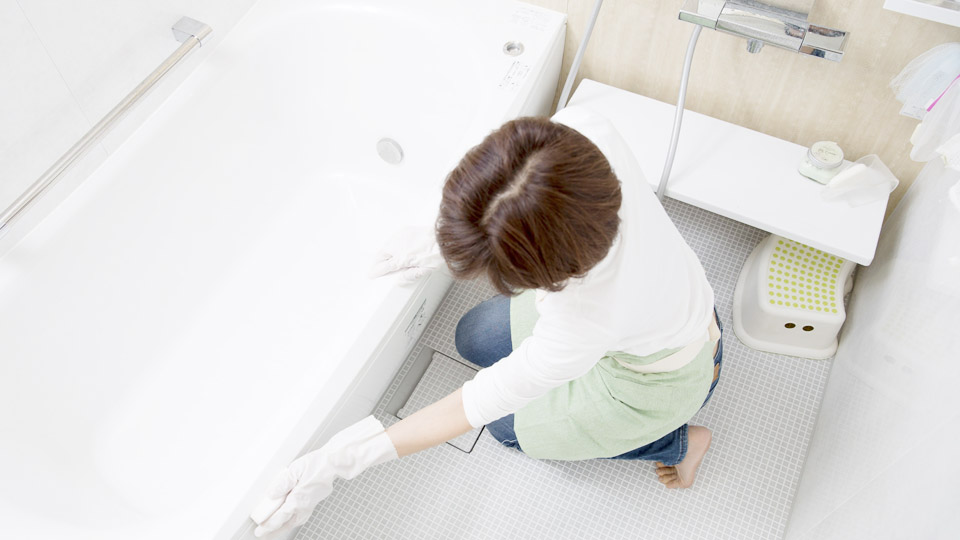
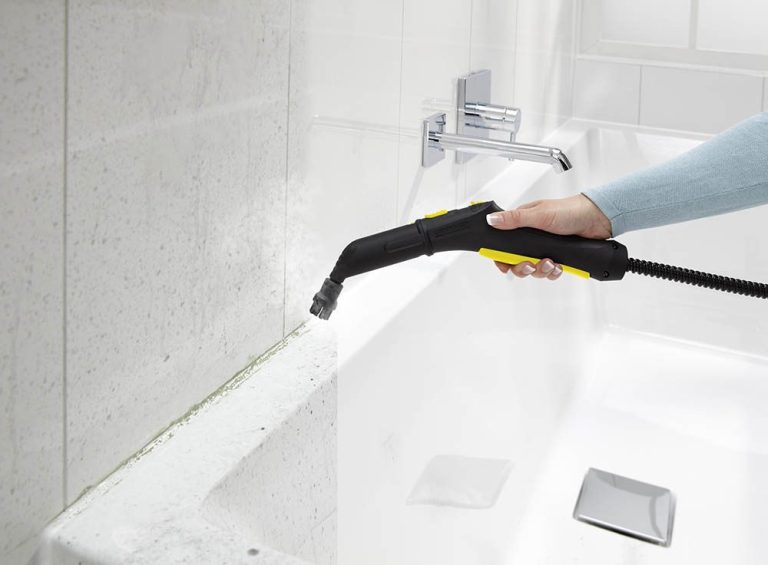
Showers and tubs are often the toughest part because of soap scum and mildew. I use a scrub brush and an all-purpose cleaner for tiles and grout. For glass shower doors, glass cleaner or a vinegar-water mix works wonders. If you’ve got stubborn stains, let the cleaner sit for 10 minutes before scrubbing—it saves elbow grease.
Finish with the Floor
Save the floor for last to avoid tracking dirt or water. Sweep or vacuum first to remove hair and debris, then mop with a floor cleaner suited for your tile or vinyl. I like to use a microfiber mop for a streak-free finish. Pay extra attention to corners and the area around the toilet where grime loves to hide.
My Favorite Cleaning Hacks for a Spotless Bathroom
Over the years, I’ve picked up a few tricks that make bathroom cleaning easier and faster. Here are some of my go-to hacks:
Vinegar for Hard Water Stains: Mix equal parts white vinegar and water in a spray bottle. Spray it on faucets or showerheads with hard water buildup, let it sit for 15 minutes, then wipe clean. It’s like magic!
Dryer Sheets for Mirrors: If your mirror has stubborn streaks, gently rub it with a used dryer sheet after cleaning. It removes residue and leaves a shiny finish.
Squeegee the Shower: After every shower, use a squeegee to remove water from glass doors or tiles. This prevents soap scum and makes deep cleaning easier.
Baking Soda Paste for Grout: Mix baking soda with a little water to form a paste. Apply it to dirty grout, scrub with an old toothbrush, and rinse. It’s a game-changer for dingy tiles.
Keep a Cleaning Caddy Stocked: I mentioned this earlier, but it’s worth repeating. A pre-stocked caddy saves so much time. I keep mine under the sink, ready to grab whenever I need it.
How Often Should You Clean Your Bathroom?
The frequency of cleaning depends on your household. In my home, with two kids and a dog who loves splashing in the tub, I do a full bathroom clean once a week. But I also do quick daily touch-ups to keep things manageable. Here’s a simple schedule that works for most people:
| Task | Frequency | Time Needed |
|---|---|---|
| Wipe down sink and counter | Daily | 2-3 minutes |
| Squeegee shower | Daily | 1 minute |
| Full bathroom clean | Weekly | 30-45 minutes |
| Deep clean (grout, etc.) | Monthly | 1-2 hours |
Daily touch-ups—like wiping down the sink after brushing your teeth or squeegeeing the shower—prevent buildup and make weekly cleanings faster. I find that spending just a few minutes each day saves me from marathon cleaning sessions later.
Preventative Tips to Keep Your Bathroom Sparkling
Once your bathroom is clean, you’ll want to keep it that way. Here are some preventative tips I swear by:
Use a Shower Curtain Liner: A washable liner prevents mold and mildew on your shower curtain. Toss it in the washing machine every month for a quick refresh.
Ventilation Is Key: Run the bathroom fan or open a window during and after showers to reduce humidity. This helps prevent mold and keeps surfaces cleaner longer.
Organize Toiletries: Use trays or organizers to keep toiletries contained. This reduces clutter and makes wiping down surfaces easier.
Empty the Trash Regularly: A small bathroom trash can fills up fast. Empty it weekly to avoid overflow and odors.
Invest in a Good Mat: A washable bath mat absorbs water and prevents slippery floors. I wash mine weekly to keep it fresh.
Encouraging You to Shine
Cleaning a bathroom might not be your favorite task, but it’s so rewarding when you step back and see the results. A sparkling bathroom feels like a little gift to yourself—a clean, calm space where you can relax and recharge.
By starting with the right step—clearing the space and gathering your supplies—you’re setting yourself up for success. It’s not about perfection; it’s about creating a space that feels good to be in.
FAQ
What is the first step in cleaning a bathroom?
The first step in cleaning a bathroom is to clear the space and gather your supplies. Remove clutter like towels, toiletries, and random items from surfaces, and organize them in a basket or outside the bathroom.
Collect all your cleaning tools—think all-purpose cleaner, microfiber cloths, a scrub brush, and gloves—in one place, like a caddy. This preparation ensures you can clean efficiently without obstacles or interruptions.
How long does it take to clean a bathroom?
The time depends on the bathroom’s size and condition, but a thorough weekly clean typically takes 30-45 minutes. If you’re doing a deep clean with tasks like scrubbing grout, it might take 1-2 hours. Daily touch-ups, like wiping the sink or squeegeeing the shower, take just 2-5 minutes and can reduce the time needed for weekly cleanings.
What’s the best cleaner for bathroom surfaces?
I love using an all-purpose cleaner for most bathroom surfaces like sinks, countertops, and tiles. For mirrors, a glass cleaner works best to avoid streaks. For tough toilet stains, a dedicated toilet bowl cleaner is a must.
If you prefer natural options, a mix of white vinegar and water is great for hard water stains and general cleaning—just avoid using it on natural stone surfaces like marble.
How can I make bathroom cleaning easier?
Preparation is key! Clear the space and gather supplies first to avoid interruptions. Daily touch-ups, like wiping the sink or squeegeeing the shower, prevent buildup and make weekly cleanings faster. Keep a stocked cleaning caddy handy, and use hacks like vinegar for stains or dryer sheets for mirrors to save time and effort.
How often should I clean my bathroom?
A full bathroom clean once a week works well for most households. Daily touch-ups, like wiping down the sink or emptying the trash, take just a few minutes and keep things manageable. For deeper tasks like cleaning grout or scrubbing behind the toilet, aim for once a month to keep your bathroom in top shape.


